Translations
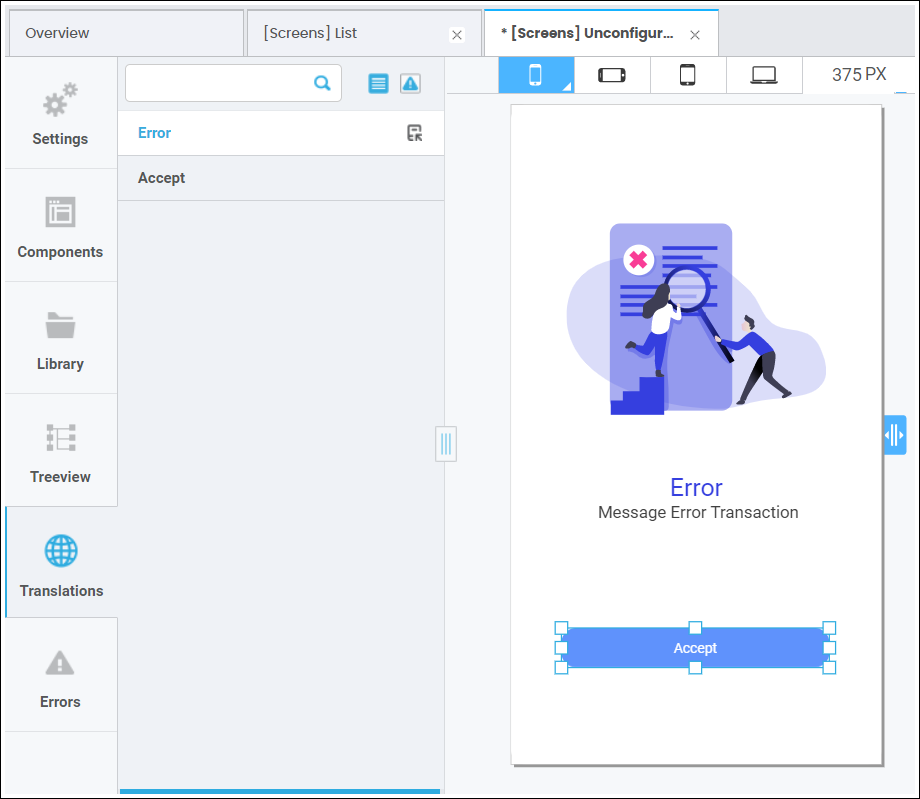
From the Translation tab, you can visualize every translation applied to the components on your screen. Translations apply to components that contain text or certain attributes that can be configured with different languages. The screen components that are already translated are listed in this tab with the component's value. Also, you can click on the warning icon to verify any missing translations on the screen you are editing.

Note
Note: This tab is available when there is more than one language selected on your app's settings. To enable a new language on your app, go to Settings > Basic and, on the Languages section, select the additional languages you want to enable. To learn more about this process, go to App Settings.
Creating and Editing Translations
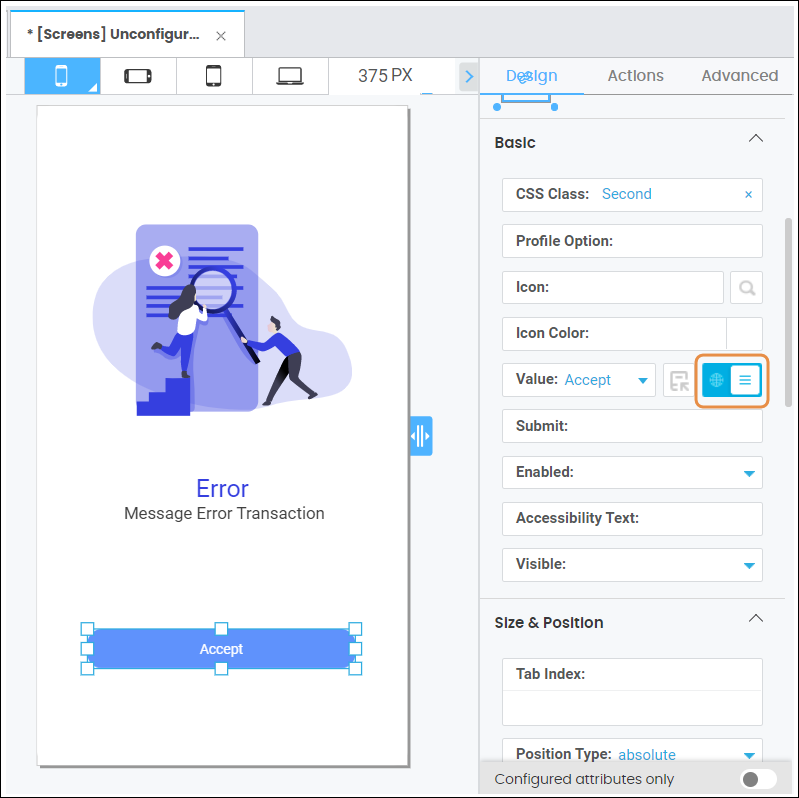
To translate a component, select it from the tree view or canvas and, on the Design tab from the right panel, scroll to the Basic section. On the Value field, click the world icon, as shown on the image below.

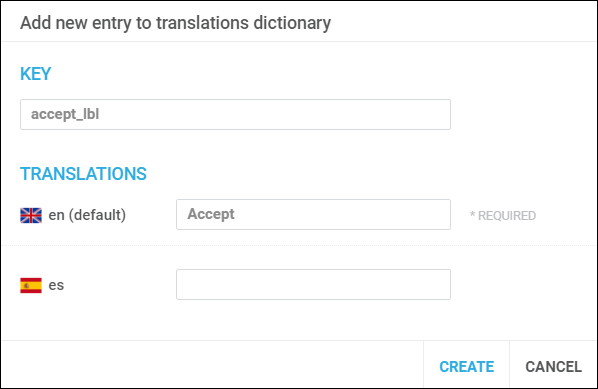
An "Add" button appears, where you can add the translation for the selected component. Click on it, and a new popup window appears.

In this step, you can add a translation for the component, which is represented by a general key. Add the necessary translations, depending on the languages selected for your app, and click Create. The translation is added to a dictionary and is available to be reused. Any time you click the world icon of a component with an already translated key, Studio suggests the translation that is stored in the translations dictionary.
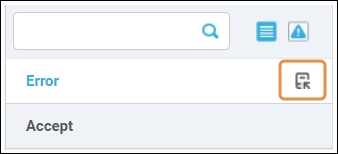
To edit a translation, go to the Translations tab and click on the Edit icon that is next to the label you need to edit, as shown below.

An Edit Entry window appears, where you can modify the text for the component.
Preview Translations
To preview translations, go to the canvas' options located at the top left corner of the screen and click the Languages drop-down icon to switch between languages. Remember to enable the user mode to preview texts on the Visual Builder.